
In Death Stranding 2, moving about the vast open world can be tricky, especially since the fast travel options penalise your deliveries or don’t allow you to carry them at all. This is when ziplines come in handy – they will help you transport quicker without any tolls and are far easier to build than roads.
In Chapter Six, Order 021, after finishing the “Rescue the Dowser’s Friend From the Armed Survivalists” mission, the Zipline option becomes accessible. Upon completing the order, you will receive the PCC lv2 and the Zipline option. The Dowser will want you to build one as soon as you can, but it is not essential to advancement.
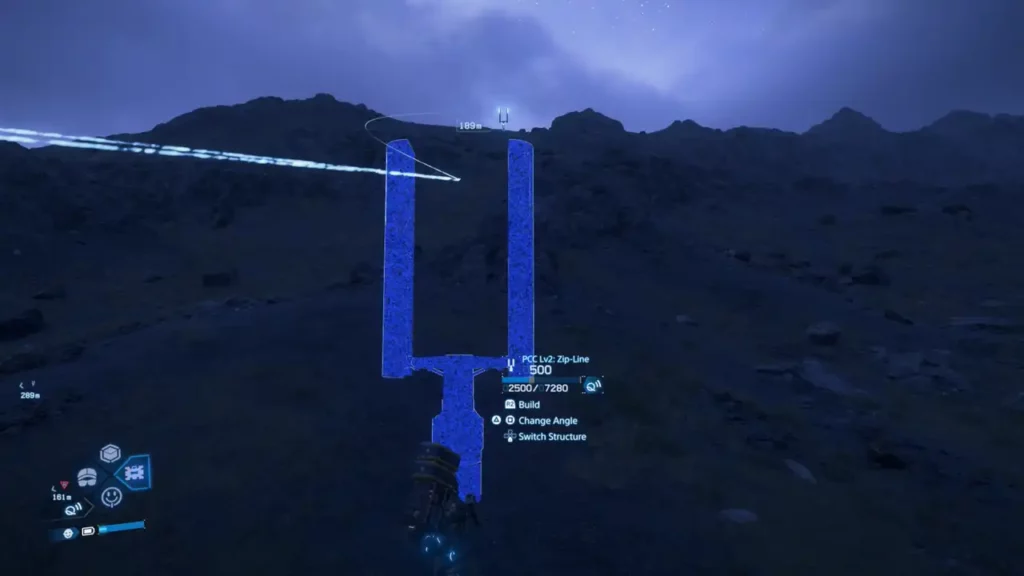
Creating Your First Zipline
Setting up a zipline is remarkably straightforward. All you need to do is equip your PCC level 2, select the zipline structure in the menu, place it, and press R2 to build. Ziplines are especially useful because they can cross multiple points, forming travel networks through which you can evade enemies or BTs and travel quickly anywhere.
You can now curve ziplines around obstacles in Death Stranding 2, a welcome addition from the first DS game. By pressing square or triangle while holding L2 during construction, you can move the line left, right or arch it up. This feature is a huge improvement over the original game where terrain often blocked your ability to zipline.
Utilising Your Zipline Network
You will intuitively zipline to a structured endpoint. Approach the structure and press square, followed by X. If you’ve made a network of ziplines, you can either keep travelling or exit at the right spots.
The system is flexible – you may return to the origin point or dismount while travelling (just be careful not to fall and hurt yourself based on the height). When you are standing next to a zipline structure, hold square to use it. This opens up the possibilities of upgrading, repairing, or dismantling the installation.
You must realize that each zipline in your network must be individually maintained. Fixing one won’t fix the others in the system, and establishing and upgrading an entire zipline network takes a ton of time.
Enhancing Your Zipline Experience
By upgrading ziplines, users unlock more features for extra use & fun. It includes everything from adjustable music while in transit to holograms, long-distance and ruggedness.
The upgrade tiers provide:
- Level one: Is travelling rapidly to two points.
- Level two has more options for customizing, longer connection range(between 300m-350m) and tougher.
- Optimizing the structure (“Level Three”) Further improvement of robustness
Building an Effective Zipline Network
Although it demands a lot of work, building a connected zipline system will prove advantageous. Where you place things matters a lot, so have your zipline above enemies and BTs, while also having points in-between that logically take you to where you want to go.
When creating your network, visualize how you usually move around the map. When your deliveries are well placed, you can save yourself a lot of future time and hassle.
Also read our Death Stranding 2: On the Beach review.