
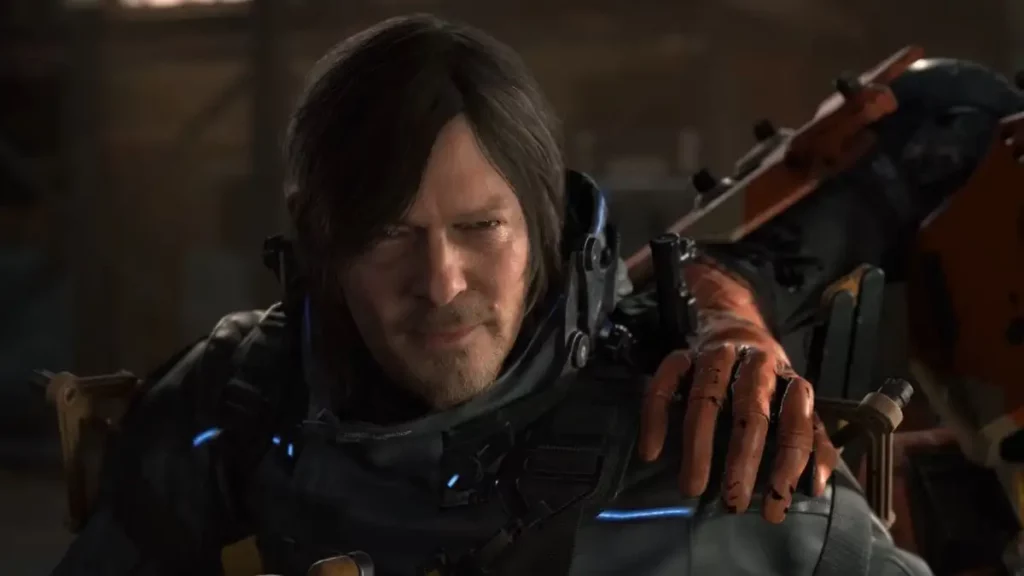
Players have incredible freedom in how they deal with obstacles in Death Stranding 2: On the Beach. The game features Sam Porter Bridges who sets out to expand the Chiral Network. Director Hideo Kojima created the title with several means to deal with threats, either avoiding, stealth, or going in guns blazing. If you want to follow the confrontational route, then let us take you through some essential combat tactics which will help you defeat enemies quickly and efficiently carry on with your important deliveries across the broken landscape.
Unleashing the Power of Strand
In Minecraft, players often overlook the humble Strand rope, which is known to be quite useful as a combat tool. Holding L2 with the Strand equipped allows you to parry melee attacks. When an enemy swings, time slows down momentarily for you to hit R2 in order to do a perfect parry. Your opponent will be left stunned for a short period of time allowing you to finish with a finishing move that will cripple him completely.
With an unlimited number of times that you can activate it since the start of your journey, the Strand is a tool that is used many times and becomes an asset. Although it cannot block bullets, you can sneak behind foes with firearms and take them down instantly. Ideal for nearly all situations, except for bosses.
Navigating Enemy Outpost Dynamics
The enemy outposts are where you will face the majority of combat challenges throughout your journey in Death Stranding 2. While you can avoid them altogether, going into these areas and fighting can often be more efficient than taking your time to go around them. Understanding their mechanics is vital to getting the win.
Deliveries to hostile areas are easier at night because there are not many enemies patrolling at that time. Additionally, outposts evolve based on your interactions. Clearing out all enemies will lower the threat level in that area, and when you return to that area there will be less hostile enemies in that area.
On the other hand, leaving outposts untouched will increase their threat level with time, producing new enemies with better gear. The outposts with the highest threat level contain a lot of useful gear and resources. This presents an interesting strategic choice. Which outposts do you want to keep at low threat to travel to easily? Which outposts do you want to let develop for better loot?
Beware of Enemy Revival Tactics
Stay alert to enemy locations near their downed comrades during the execution of stealth approaches. Like the first game, enemies that find unconscious teammates will help them back up, ruining your careful work.
Enemy tagging is essential before entering the camps/emplacements. Use L1 first-person view to inspect the area from height or use Dollman to view from the sky. If you’re not careful, you’ll suddenly find yourself with a whole camp of the enemy revived.
Optimising Your Arsenal Against BTs
The spectral BTs are tough enemies that demand proper preparation. Before leaving the facility, check your weapon inventory to see what will kill the supernatural. Many weapons are effective against human foes but ineffective on BTs, weapon stats must therefore be checked carefully.
While there aren’t any specialised BT weapons at the start, boosting your standing with facilities unlocks some really versatile upgrades for you. The Shotgun MP Level 2, for instance, is superior to Blood Grenades when dealing with BTs and also occupies less inventory space than a large number of anti-BT tools. By focusing on multipurpose weapons that take down both living and spectral threats, you can cut down on the amount of stuff you carry.

Blood Grenade Combo Tactics
You can combine Blood Grenades with gunplay against BTs in Death Stranding 2 to create a unique combat approach. This sequel requires careful thought and cleverness unlike the game which had hematic rounds.
When a Blood Grenade goes off next to a BT, it leaves a cloud of blood in the air for a short time. Because a single grenade usually won’t kill a BT, switch to a regular weapon and shoot through the blood cloud. It cleverly changes normal rounds into effective hematic rounds in-flight in case you face unexpected BTs.
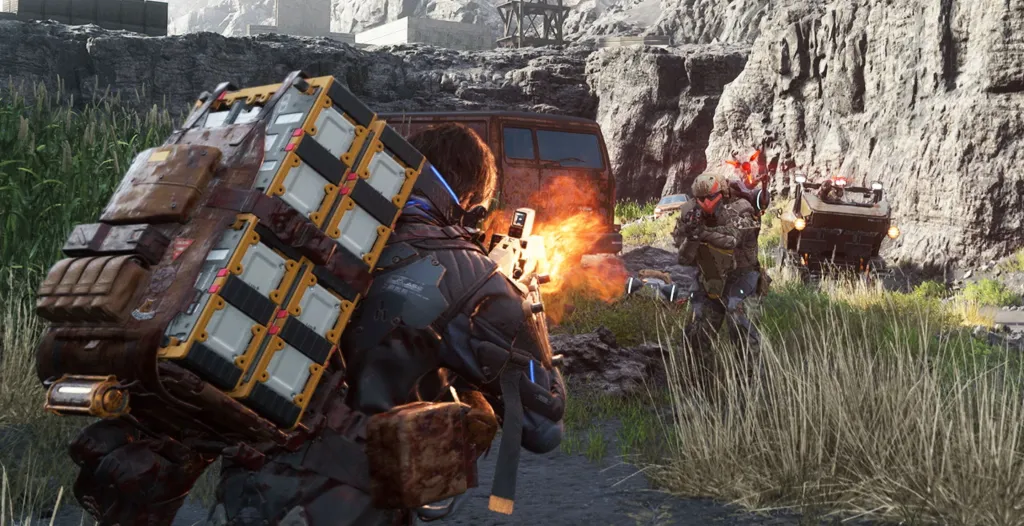
Vehicular Combat Strategies
Among the many fighting options in Death Stranding 2, you wouldn’t be blamed for thinking vehicles are surprisingly simple and effective. If you lack good weapons, ramming into your enemies in cars or reversing a Tri-Cruiser over them will knock them out instantly.
The technique is great for starting combat with flair, though participants will alert all enemies nearby. Vehicles serve as useful means of quickly clearing outposts, thanks to their durability and easy availability. Moreover, you can switch between driving and shooting just by pressing the right button on the D-pad to get your weapons without leaving the car.
Most of the time in GTA, cars will disable your human opponents, rather than kill them outright. This helps you avoid the hassle of causing death in that world.
Accessing Lethal Ammunition
If players want deadlier options, they can use lethal ammunition in Death Stranding 2. In Chapter 7, the Pizza Chef sends a secret through the SSS after connecting to the Chiral Network. This code also works before receiving the official message.
To use lethal rounds for your weapons, open the weapon wheel by pressing D-Pad right. Then hold L2, R2 and Circle together. After a short animation finishes, your weapons will fire live rounds. Repeating this process reverts to non-lethal options.
When you kill someone, disposing of the corpse will become a hassle. Imagine doing this for every single person you kill, especially when clearing an entire outpost. Further, they make deliveries lose ratings and hence, lethal force is used only if needed.
Enhancing Hand-to-Hand Combat
Sam’s basic punches won’t stop an enemy, but a one simple technique will enhance meele damage. Using ordnance in combat turns regular cargo into dangerous weapons that often take enemies out with a single shot.
Use your backpack to load cargo into one of Sam’s hands, or use available objects around you. To lift the cargo, hold the L2 or R2 button according to your desired hand. Now, attack with Circle button to swing it instead of punching. For far away enemies with guns, you need to throw the cargo. Hold the trigger to swing with Circle and release mid-swing for a knockout.
This strategy remains always on the table since you rarely travel without load. Even if they are empty-handed and defeated, enemies usually drop items you can use as an improvised weapon immediately. Remember not to use cargo as a weapon, as it will damage the item. Likewise, do not use delivery packages unless necessary.
Also read our Death Stranding 2: On the Beach review.