
The gaming experience in inZOI can be significantly enhanced with the right modifications. This comprehensive guide explains the proper installation process and highlights several exceptional mods currently available. To begin exploring the world of inZOI mods, you’ll need to visit the Nexus Mods website, which houses an extensive collection. Before downloading any modifications, two crucial preliminary steps must be completed:
First, create a Nexus account – if you don’t already have one, look for the ‘register’ option located in the top-right corner of the website.
Second, download the inZOI mod enabler – this essential tool allows mod functionality to work within the game.
To obtain the mod enabler, navigate to the appropriate download page, select ‘manual download’, and choose the ‘slow download’ option (unless you have premium membership access).
Setting Up Your Mod Environment
After downloading, locate the mod enabler file and extract the contents using 7-Zip or WinRAR. Within the extracted folder, find the ‘BlueClient’ folder and move it into your inZOI installation directory (typically found in your Steam library).
Next, launch BlueClient, navigate to the ‘Content’ section followed by ‘Paks’, and create a new folder named ~mods.
Additional mods can now be downloaded from Nexus Mods. The installation location varies depending on the mod type:
For mods containing a ‘BlueClient’ folder, transfer it to the game’s root folder, overwriting existing files if prompted.
Mods with .pak files should be placed in the newly created ~mods folder.
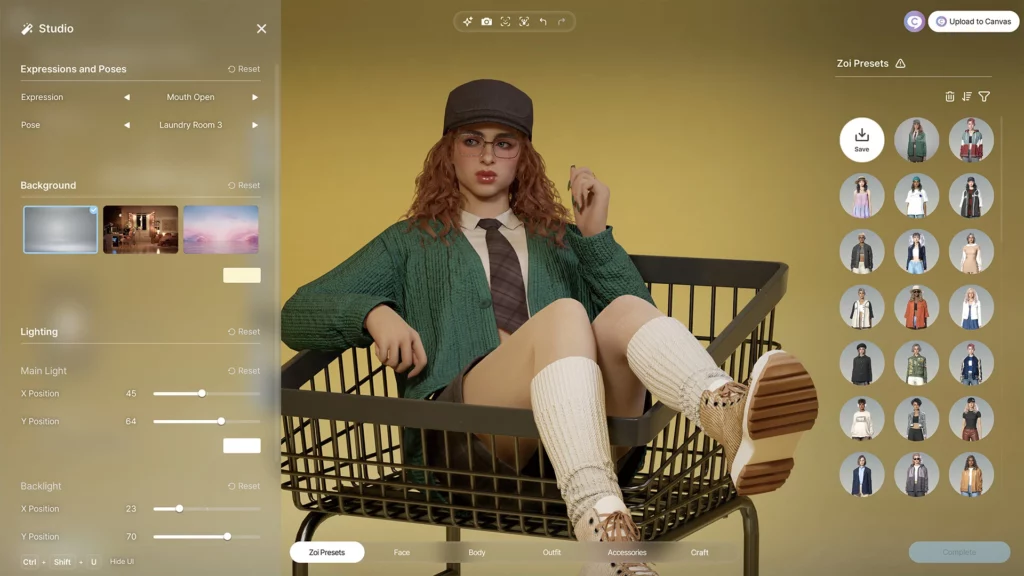
Mods featuring arbitrary letters and numbers typically contain Creations such as textures or 3D models. These should be placed in folders like ‘My3DPrinter’ or ‘Creations’, commonly found in Users > Documents > inZOI. These directories are automatically generated after using the Canvas feature at least once.
Must-Try inZOI Mods for Enhanced Gameplay
A diverse range of modifications is available for inZOI, from utility tools to visual enhancements. Here are some of the most valuable and engaging options currently accessible.
Mods Manager for inZOI
While it doesn’t directly alter gameplay, the Mods Manager created by MjKey provides a convenient interface for handling multiple modifications. After downloading the program, users simply select their inZOI directory and manage their mods by enabling or disabling them as desired. Newly downloaded pak or zip files can also be added by dragging them into the application.
It’s worth noting that this manager only supports .pak files. Users should always review the mod description to confirm compatibility.
Fast Launch
For players who prefer to skip the opening video when starting inZOI, the Fast Launch mod developed by Instanity delivers a quick solution. It automatically bypasses the introduction sequence, allowing for faster game startup.
RebelCore – Age and Time
With the RebelCore – Age and Time mod by BlackBookOfficial, in-game time can be accelerated up to 100 times the normal rate. This feature proves particularly useful when attempting to fast-forward through sleep cycles or aging phases. Although the maximum speed can be demanding on the game engine, lower settings such as x40 or x60 still provide significant time progression improvements.

Yoco Free Donuts
Typically, Meow Coins—earned by fulfilling Zois’ short-term goals—are required to purchase donuts from the Meow Store. These donuts can dramatically impact gameplay by satisfying Needs, altering Moods, and improving Skills. The Yoco Free Donuts mod by Yocodream eliminates the cost completely, making all donuts in the store free.
After placing the mod in the ~mods folder, players can access the Meow Store through a Zoi’s ‘Zoi Card’ and enjoy free item usage, including options to manipulate emotions or enhance luck.
102 Hi-Res Textures
Perfect for customisation enthusiasts, the 102 Hi-Res Textures mod by ZoiBoi introduces over a hundred new patterns, including detailed leather, wool, and bohemian designs. These textures can be utilised in clothing or furniture creation.
To apply them, the extracted files should be moved to the Creations > MyTextures folder. Once in-game, the new textures become available by selecting the ‘My textures’ option during customisation.
These modifications not only enhance visual appeal but also streamline gameplay and provide powerful customisation tools. With proper installation and some experimentation, inZOI transforms into a much richer gaming experience.
Also read our inZOI Early Access Overview.