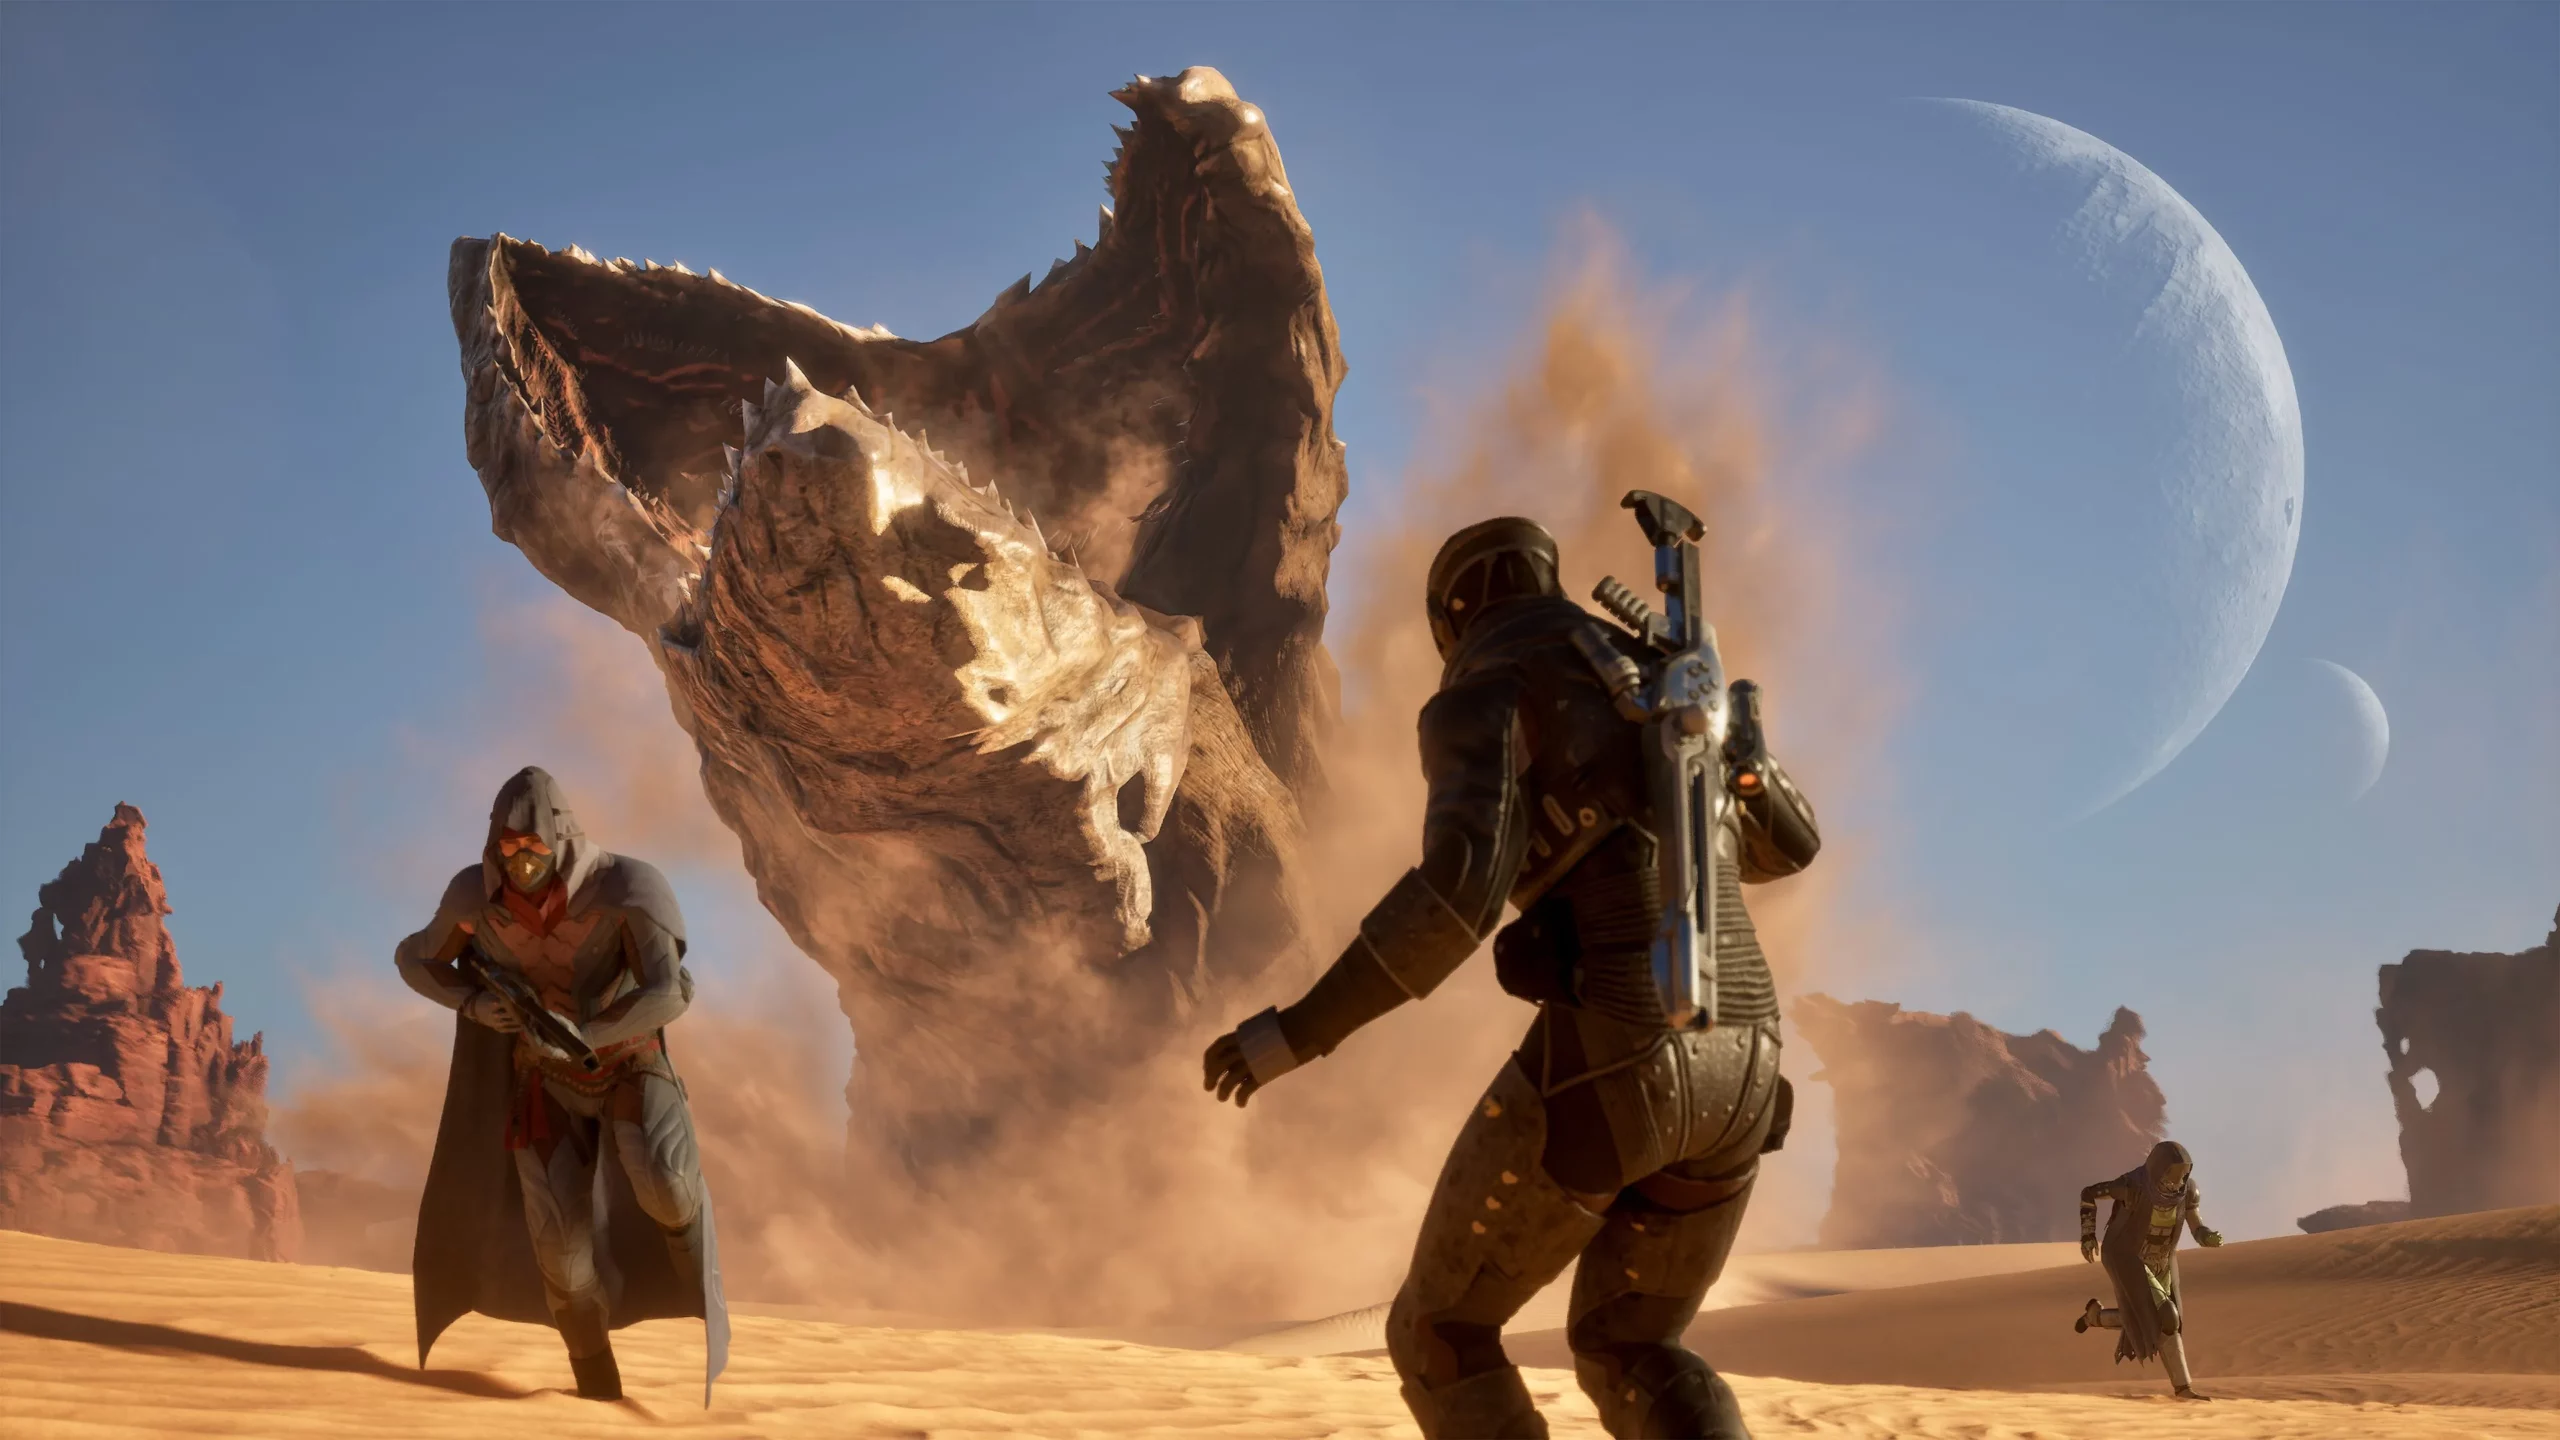
Dune: Awakening is an immersive game set in the desert planet of Arrakis, where survival requires strategy, planning, and instinct. This guide will help the gamers tackle the in-game obstacles with its tips and tricks ranging from controlling resources to outsmarting sandworm. If you are a newbie or a veteran, these tips will enhance your gameplay and keep you thriving in this brutal world.
Mastering Hydration and Heat Management
Water is very important in Dune: Awakening. Players should regularly hydrate partaking in water before running low on their reserves. Keeping fully hydrated will give you bonuses that improve combat and travel efficiency. You may find yourself in an emergency due to dehydration. Always remember to refill the water supplies before doing anything important as level three hydration boosts movement and fighting.
To hydrate optimally, blood bags are the best resource water. They are better than other water sources like water bodies. It is important to carry more than one blood bag. It’s important to find shade when travelling as heat strokes can occur quickly, dramatically increasing water intake. Traveling during cold weather or planning shorter trips can prevent this debilitating ailment.
Navigating the Desert Safely
The desert is fraught with dangers, particularly sandworms. Using shields on open sand is a rookie mistake. This is because it will instantly attract worms and erase the usual grace period of 30 seconds. Don’t waste shields on damage. Pay attention to the worm activity indicator as this is your first warning for attacks. When a worm is active already, the escape time reduces to 15 seconds, hence every second counts.
On the map, red circles show the location of drum sand areas where worms are activated in half the time. The plotting routes from rock to rock reduces exposure to hazardous zones. When you stop, have your vehicle facing your escape route so you can shave a few seconds off your exit. To safely cross, you should only use the designated flat area that exists between Haga Basin South and Vermilia’s Gap, as shortcuts may cause you to encounter worms.
Choosing the Right Gear
Gear choice depends on the task at hand. Steel suits that recycle moisture is best for long desert treks while armour is suitable for combat. Refill points are water sources discovered in the game present on the map in the form of droplets when zoomed in. To travel efficiently, you can combine the benny dash and uplift module with jump to move quickly and safely above rock formations.
The objectives will still appear on your compass even when your back is turned to them. Elevation markers are also great navigation tools that tell a traveler if a destination is higher or lower. So this will save the traveler time and lower the risk of the journey.
Resource and Inventory Management
Smart inventory management is key to survival. If you carry 100 salvage medals you can now craft a respawn beacon which will save your progress after death. Essential drops of early-game EMF regulators that unlock important crafts. Stocking two hundred fibres guarantees that you will always have a fresh supply of bandages to heal with. Furthermore, stock power cells to keep the shields of your base operational. This will protect your base from harmful sandstorms.
In the early game don’t bother collecting junk, get plant fibres, scrap metal, power cells. When going on risky trips don’t pack your premium gear. Instead, pack the backup kit and leave the best gear behind to avoid losing it. Holtzman actuators and armor plates from wrecked ornithopters and buggies can be found next to the rocks, and they are needed when upgrading gear. Flower sand, an important resource, can be spawned near rocks, meaning you don’t need to go into deep sand.
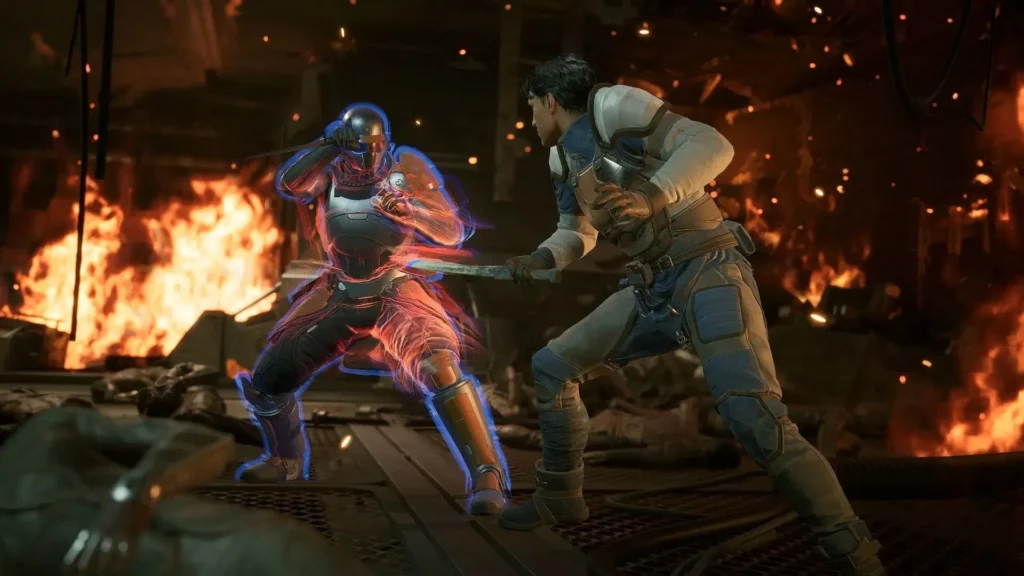
Combat Strategies
In combat, precision is everything. Most enemies in the early stages can be instantly killed with shotgun headshots. If you parry then slowly stab it kills better than normal melee combat. For their part, SMGs are good against shielded enemies due to their fire rate. Sugar cocozzle wire paralyzes sword-wielding foes allowing devastating hits through their shields.
Weapons of the green variety that have the “standard” prefix usually perform better than the regular versions of higher rarity. So, check your stats! It makes you vulnerable to attacks because your shield will flicker and drop while you are attacking. Maximize Damage by Hitting Heavy Stuff When Shield is Down In the Game’s PVE for endgame content, having aluminum armor with your own poison sword and shotgun can make most encounters easier.
Building a Strategic Base
To relocate does mean to move, but early lodgings are just temporary overnight bases helping us towards our destination office. Don’t spend too much on your starting base and be cautious of where to build as the sandworm can destroy your bases when you are offline. To learn more about the area’s resources and threats, first create a temporary base before committing to a permanent site. Permanent site access to orange, green and blue farming loops.
Nearby chests contain auto-access resources to help with crafting and base. When moving, using the bike inventory module doubles carrying capacity. Set up your fabricators and refiners with one item per slot, so that the materials get sorted into the chests and do not clog.
Farming Loot and Vehicles
Constellation chests give some of the best blueprints so marking down where these chests are for respawn farming every 40 to 45 minutes is worth it. Loot quickly by constantly hitting spacebar or holding E when a threat is near. You can find the best loot inside the port bow section of crash ships, followed by the top mid and starboard mid.
You can find free sandbikes and buggies near trade ports and NPC camps. Even damaged cars can be claimed because they can still be fixed. Your loot from chests and bodies is yours only, so you won’t compete with other players. You can find hidden treasures behind the fridges in bases.
Vehicle and Equipment Optimisation
By keeping two bikes – one for travelling and one for corpse fetching – deaths occurring far from hospitals can be retrieved back. By enhancing the vehicle and speed components to lower vibration, the risk of worm detection is reduced. When you park the bicycles in the sheltered spots, they do not get damaged. Basic cutters, ideal for easy tasks like door cutting, mean high-end tools can be used for critical and difficult tasks.

Wonder what the ‘vulture mode’ is in Dune Spice Wars? Or other flight modes such as ornithopter…The ‘Vulture Mode’ of the ornithopter can be activated anytime during flight which can be initiated by pressing Shift in the keyboard. This mode allows the ornithopter to glide without fuel, helping to cover more distance while still gliding downwards!
Reading the Environment
The map indicates worm territories that are active and used for planning. Sandstorm weather alerts signal when to seek shelter. When users maintain environmental sounds while playing, it can provide an early warning on the worm rumbling that is about to occur. Haga Basin South can support up to eight active invertebrate worms currently used as a high risk zone. Imperial ships shine their spotlights and attack as one goes through the Levels.
Character Development and Economy
It’s important to unlock the Ben Jezrid skill line early as the trainer appears late in the game. Don’t go with the trooper class at first. The trainer will be accessible later. Suspension belts can help you travel and fight better than ever before. Class bonuses are permanent, so choose wisely. Skill points can be reset every 48 hours.
To harvest resources, harvest just before the game clock runs out and the blue box appears. The best place to sell excess supplies is at Haga Basin South. You can also buy extras from traders for some minor profit on farming runs. Surveying areas identifies unvisited locations, enabling orderly exploration of the remaining areas.
Advanced Techniques and Common Mistakes
With the help of the uplift module, grab and jump off surfaces to regrab. When falling, players can hit spacebar to grab cliffs and prevent fall damage. NPCs cannot pull off vertical climbs; they cannot access high ground. You can use your anti-gravity grenades, hookshots, or emperor’s wings to get high in the air. This can help you get away from worms in the game.
Don’t touch electric worms, as the results can be bad. Don’t be greedy at a crash site with worms approaching. Get out before you die. Stick to the crossings between Haga Basin and Vermilia’s Gap to avoid disaster. If you skip quest steps using unlock-all options, it will force you into unnecessary crafting. This will waste your resources.