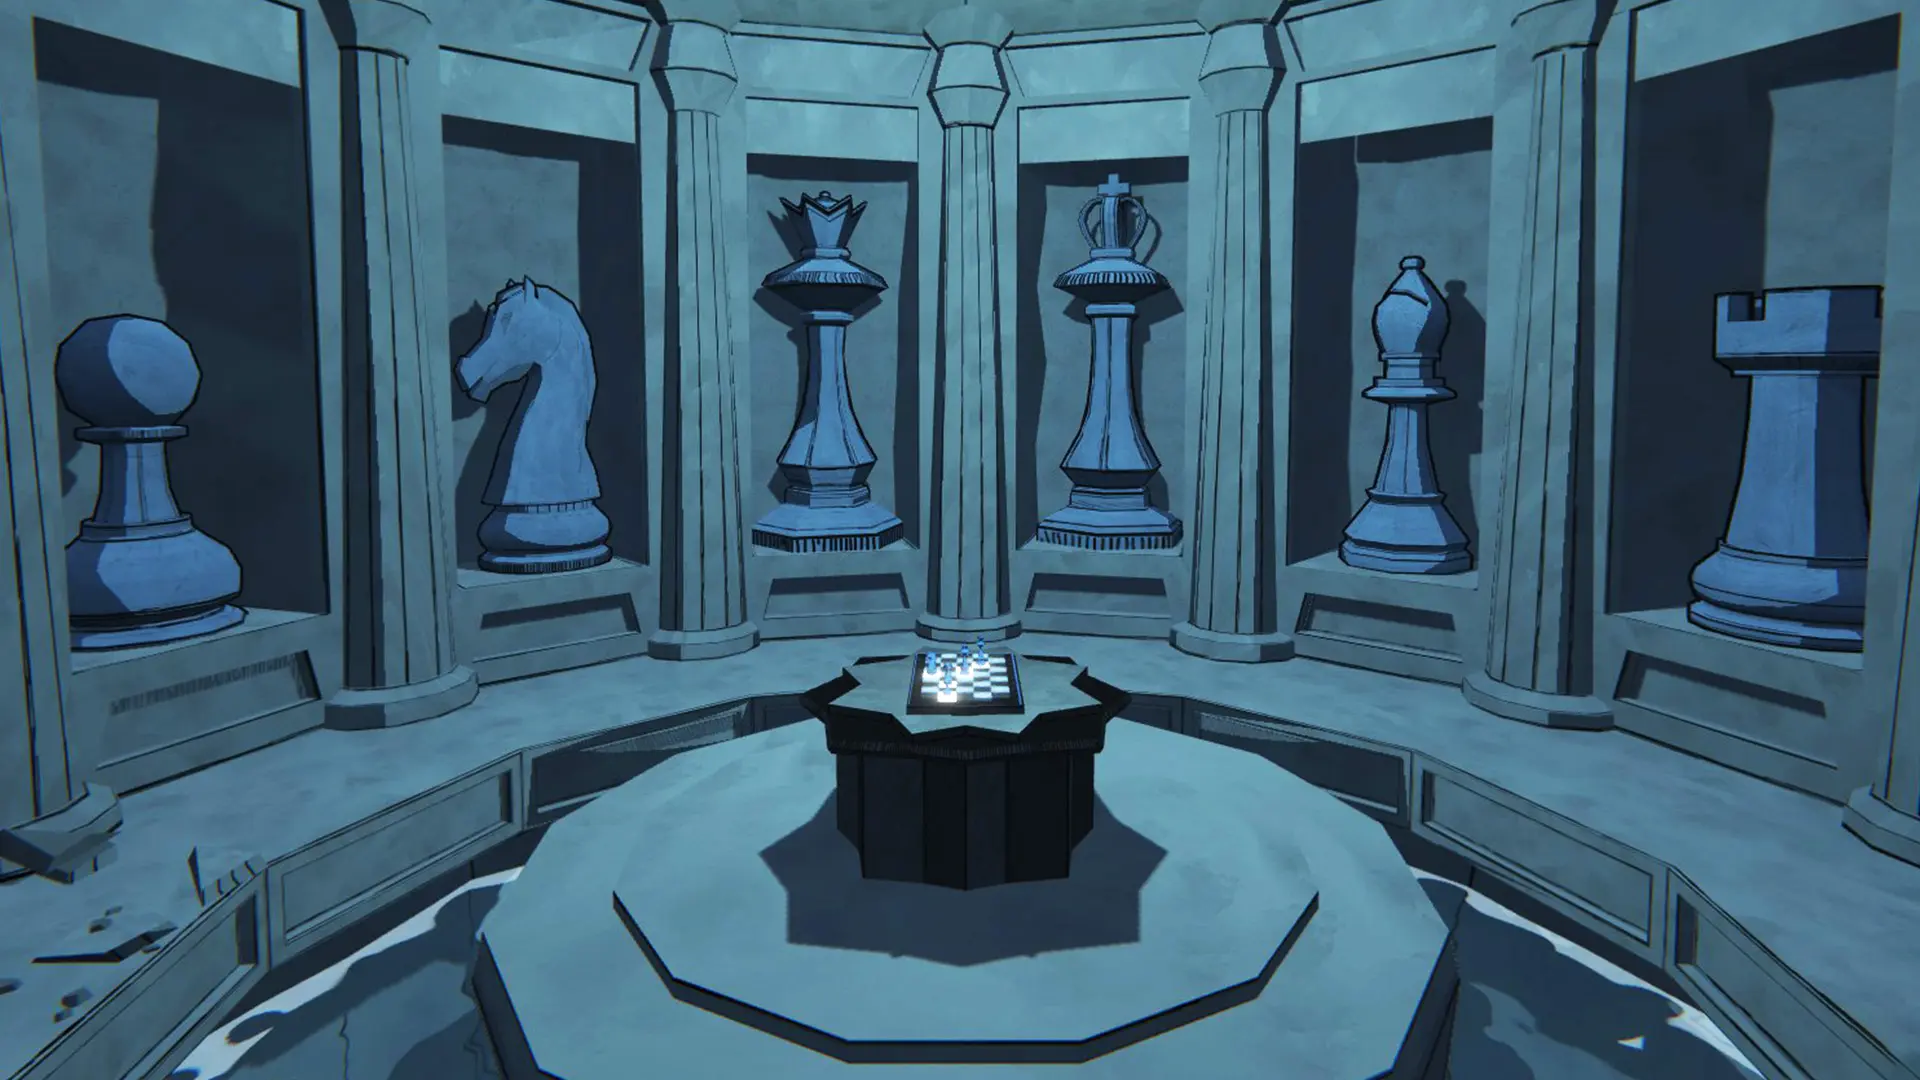
Blue Prince challenges players to explore a constantly changing mansion filled with secrets and puzzles. To successfully navigate Mount Holly Manor and discover the enigmatic Room 46 and beyond, understanding the game’s core mechanics is crucial. This comprehensive guide provides key strategies and spoiler-free recommendations to maximize your daily exploration efforts.
While not required for progression, keeping detailed records is strongly recommended. A physical notebook or digital notes app will prove invaluable as you document your discoveries for future reference. The game cleverly combines location-specific challenges with broader estate-wide mysteries. Some puzzles, like those found in the Parlor, are self-contained, while many others span multiple areas requiring broader observation and connection-making skills.
You’ll encounter rooms containing secrets that initially seem incomprehensible. Careful attention to their distinctive features and recurring motifs may reveal their significance as you progress. Though reaching Room 46 appears to be the primary objective, substantial content awaits both before and after this milestone. Players typically manage multiple investigation threads simultaneously, making strategic room drafting decisions essential.
When uncertain about your next move, exploring unfamiliar areas always proves beneficial. While physical items don’t persist between days, the knowledge gained remains permanent. Even seemingly unproductive paths often provide insights for subsequent attempts. Revisiting previously explored sections of the manor frequently reveals previously overlooked details.

Understanding the mechanics of room selection and manor layout
Each doorway interaction offers selection from a limited group of rooms drawn from the Draft Pile. Rooms can typically only be drafted once per day unless otherwise specified. Deciding which rooms to select and when becomes a fundamental aspect of long-term strategy.
Certain rooms appear more frequently in specific regions. For example, West and East Hallways can only be selected when adjacent to their corresponding sides of the estate. This pattern extends to green rooms facing outdoors or specialized areas like the Garage.
Collectibles including Coins, Gems, and Keys do not carry over between days. However, permanent elements such as specific rooms or bonuses may persist. Focus on drafting rooms and gathering items that provide lasting advantages.
Departing from the manor can be surprisingly rewarding. Turning around and exiting through the Entrance Hall allows exploration of the Grounds. Unlike the manor itself, discoveries made in these exterior areas may persist between days, offering unique opportunities.
Advancing through the estate hierarchy and resource management
As players progress through estate ranks, uncommon rooms become more prevalent, offering greater potential rewards alongside increased dangers. Advance gradually to avoid premature dead ends.
Initial exploration should concentrate on resource gathering. Rooms like Closets or Storerooms positioned near the entrance can provide Coins, Gems, and Keys that become essential later, particularly when approaching the Antechamber.
Puzzle areas such as the Billiards Room can be visited daily but increase in complexity with each visit. New mechanics and variations are introduced to test your adaptability and problem-solving abilities.
Advanced techniques for navigation, security and room placement
Locating the Security Room early provides significant advantages. Without a keycard, reducing the terminal settings minimizes locked doors. After obtaining a Key Card, increasing the setting reduces the need to collect additional keys.
Thoughtful hallway arrangement is vital. Beginning from the Entrance Hall, develop multiple outward paths. Position dead-end resource rooms like Closets at hallway corners to avoid blocking future expansion.
Room orientation impacts drafting options. Some rooms only appear when approached from specific angles. For instance, a West Hall requires a particular door configuration; facing the incorrect direction excludes certain room types from appearing in the draft.
Flexibility remains essential. Start each day with a clear plan but be prepared to adjust if obstacles emerge. If the Antechamber becomes inaccessible, explore alternative directions to uncover new clues or secondary objectives.
Managing risk rooms and strategic item placement
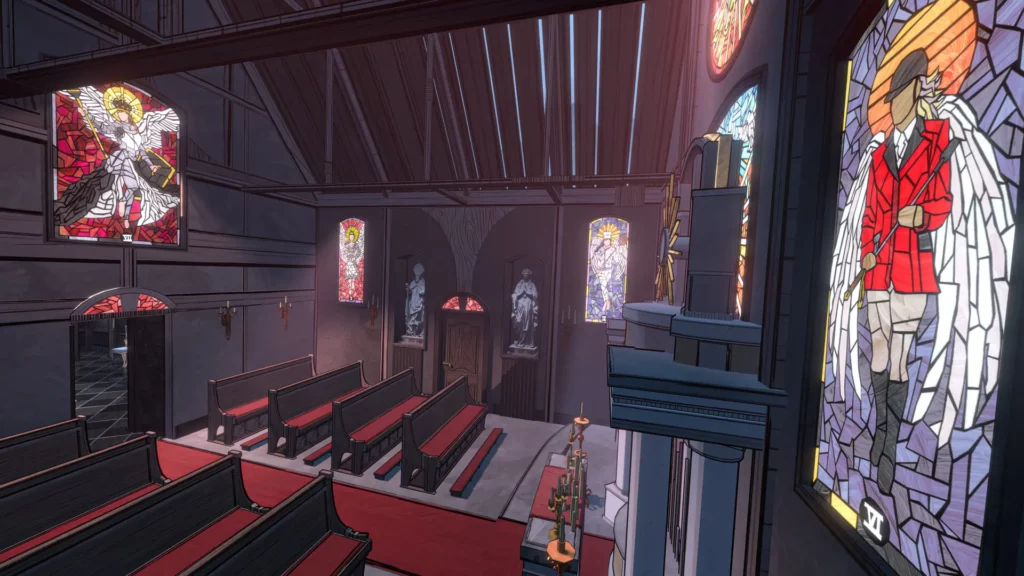
Red Rooms present hazards but offer benefits when used strategically. Drafting the Chapel before accumulating Coins, or placing it along a secondary branch, prevents unnecessary losses. Similarly, positioning a Lavatory early in a less-traveled area prevents it from appearing later in more critical locations.
Maintaining resource balance presents challenges. Players frequently find themselves short on at least one currency type. Identifying shortages early allows for preventative measures—drafting a Terrace to conserve gems or acquiring tools like a Shovel to reduce Key requirements.
Utility rooms such as the Kitchen and Commissary can help address supply shortages. These should be positioned along main thoroughfares for convenient access during resource emergencies.
Solving puzzles and unlocking future possibilities
Difficult puzzles may not be immediately solvable. Often, their solutions exist in undiscovered or yet-to-be-located rooms. Patience and comprehensive exploration are essential.
When approaching the end of a day with Steps remaining, prepare for your next session. Use the Observatory to add a Star, store vital items in the Coat Room, or draft Tomorrow Rooms like the Sauna or Mail Room to gain advantages for the following day.
Upgrade Disks, when discovered, should become priority objectives. These enable permanent enhancements to random Floorplans, delivering long-term benefits. Locate a terminal promptly after obtaining one.
Keys vary in functionality. While standard Keys open any locked door, Special Keys may unlock specific areas or hidden rooms otherwise inaccessible. Strategic utilization can lead to remarkable discoveries.

Maximizing item discovery and inventory efficiency
Special Items typically appear in logically associated locations. Green Rooms often yield tools like Shovels or Metal Detectors, while Bedrooms frequently contain Sleep Masks or Lucky Rabbit’s Feet. General areas such as Closets can contain nearly any item type.
The Coat Room allows carrying an investigation across multiple days by storing a crucial item. Only one item can be stored simultaneously, but it can be exchanged as long as sufficient Steps remain. Storing essential tools near day’s end rather than prematurely helps avoid potential setbacks.
Combining item usage with room types maximizes efficiency. For example, a Shovel becomes most effective when exploring areas with Dig Spots, while a Sleep Mask only provides benefits when paired with Bedrooms to efficiently restore Steps.
This strategic overview establishes a foundation for mastering Blue Prince. With a balanced approach to planning, observation, and adaptability, navigating the shifting corridors of Mount Holly Manor becomes not only achievable but deeply satisfying.